Drake Home Page Drake Technical Tips Menu
![]()
|
Vintage Radio Refurbishing Before Restoration by: Ronald Baker / WB4HFN Page 1 Page 2 Page 3 Page 4 >Page 5<
The last step in the refurbishing process is putting the radio on the bench, applying power bringing it back to life. Here all the switches and controls are cleaned, all needed circuit repairs are made. The last step of course is the "on-air" QSO and signal quality report. Once the radio is completed the final step is giving the case a through cleaning followed with a buff and polish, and performing minor paint touch-up if needed. Total case repainting is the only option for a severely damaged case paint. The repainting process includes a sanding to bare metal, then cleaned and primed, then I apply a base coat of color paint followed with the dry power coat which gives the case that textured surface look.
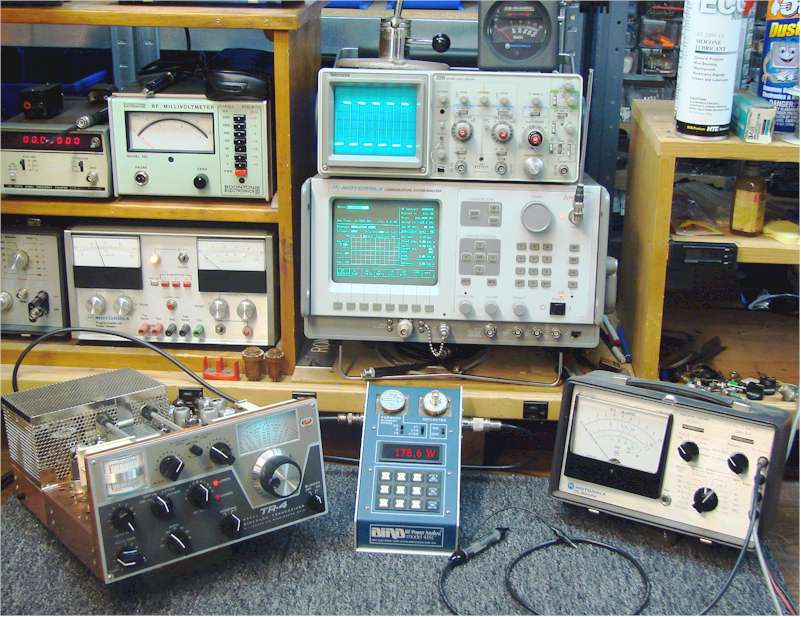
This picture shows the our TR4 refurbishing project radio on the test bench. All the switches and controls are cleaned, the band-switch is cleaned and adjusted and I use DeOxit on all the contacts to keep them clean and lubricated. The radio receives a complete circuit alignment and all repairs that are needed.
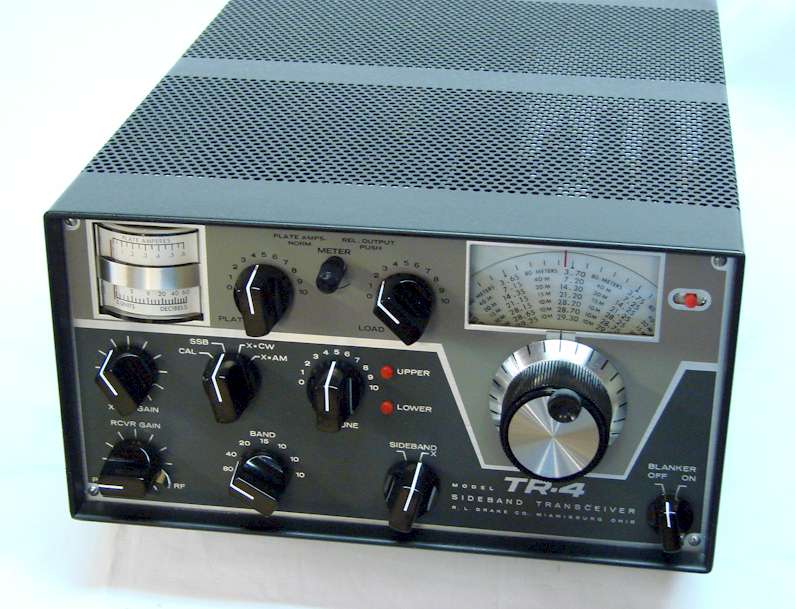
Well here is a picture of the completed TR-4 transceiver project. The radio fully refurbished looks like new again and is in great working condition. This TR-4 is now ready for another 40 years of service.
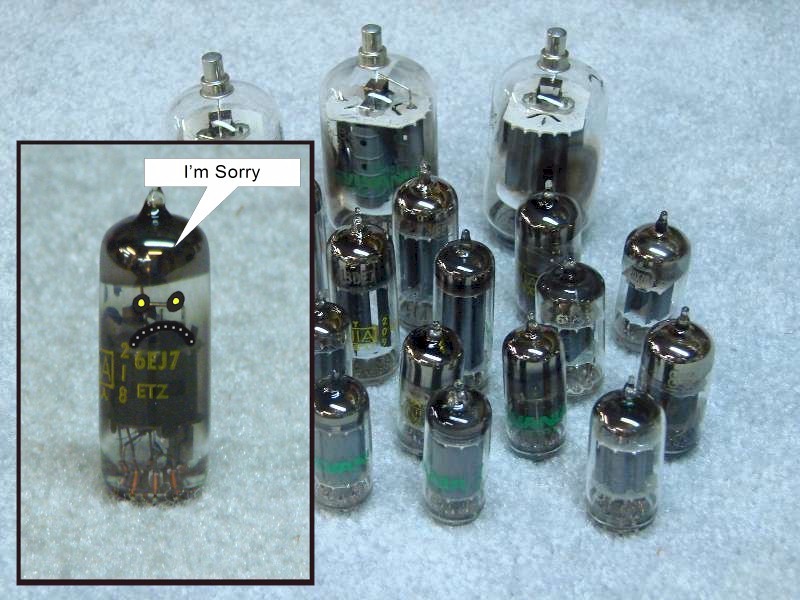
This radio was not in working condition when I started the refurbishing work so there was a little additional repair work needed. However the most significant issue with this radio was a very dirty band switch. I good degreasing, cleaning and adjustment brought this radio back to life. I also found one bad tube. You remember the group picture of all the tubes, one of those guys was not in good health. That tube in the tube checker showed good emission and no shorts, for the most part a perfectly good tube. However, when installed in the radio that same tube was totally dead. Going back to the tube checker a second time it still showed as being good. The final resolution was found when I replaced that tube with another known good tube, the radio came back to life. So here is a good example of what I said earlier, a tube checker is a good place to start but will never be a total "test-all" device for tubes. The best method is still the in-circuit comparison against a know good tube.
Remember our tube family group picture a few pages back. Well this gentleman in the picture insert was smiling in that group picture but later he was identified as a "bad-apple" in the bunch. According to the doctor, tube checker in this case, he was nice and healthy. But when it came time to work, to pull his share of the load, he buckled under the pressure. Sounds like a familiar story!!!!! Now Mr. 6EJ7 has retired, applied for disability, and unemployment compensation and resides at the bottom of the local land fill.
In closing, I hope you enjoyed my article on refurbishing vintage radios and I hope you got a smile from my humor. But on a more serious note, Ham Radio is our heritage, our legacy, the old Drake radios have served us well over the last 30 to 40 years. We need to keep that spirit alive for future generations. Refurbishing and restoring these vintage pieces will be our way to let our future generations of hams know where it all started and 100 years from now they will know it didn't happen with just a push of a button.
Ronald Baker / WB4HFN E-mail: wb4hfn@wb4hfn.com
Previous Page Return To The Beginning
|
|||||