|
Drake Home Page WB4HFN Home Page
L-4B Switch Refurbishing Project Written By: David Drake / W9CMD
>>> Page One <<< Page Two Page Three |
||
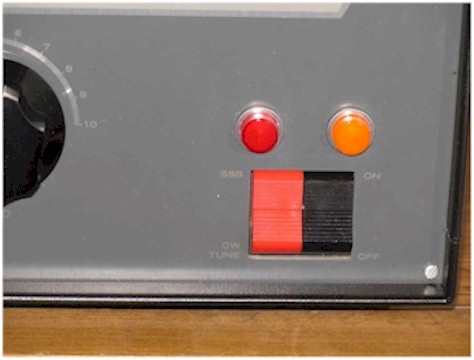 |
The Drake L4/L7 series amplifiers share similar dual switches and failure of these switches is a common problem. These switches worked very well when new, but after 30-40 years of use, many owners find the on switch stuck “on”, and the SSB/Tune-CW switch is sure to follow suit. Mine was stuck in the SSB position as well as a stuck On switch.. There are no replacements, so….lets dig in. |
|
 |
The first order of business is to disconnect ALL cabling, take the RF deck to your work bench and begin with removal of the top and bottom covers. Please observe good electrical practice during each step of this project. Removal of the front panel requires all knobs to be removed as well as the 6 panel mounting standoffs/screws. You will also need to unsolder the two panel lights. When doing so, observe and record the connections for resoldering. |
|
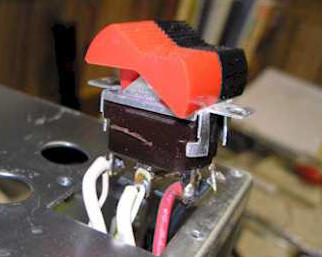 |
Once the panel is removed, you will need to remove the two mounting screws. Inside, you may or may not find push-on connectors. Mine were soldered, so I elected to remove some wire ties and there was enough wire to get the switch out where I could get at it. Notice the 4 metal tabs holding the red black switch frame to the bakelite body. Simply pry these tabs out slightly to free the switch frame from the body. I suggest doing this with the rig on its side to keep the parts in place. Once out, take care to secure the two chrome plungers and springs. |
|
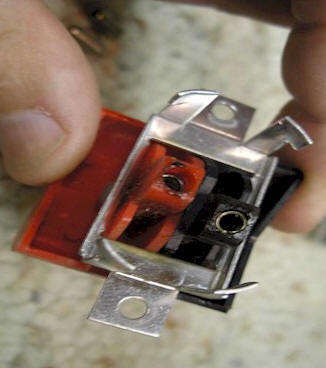 |
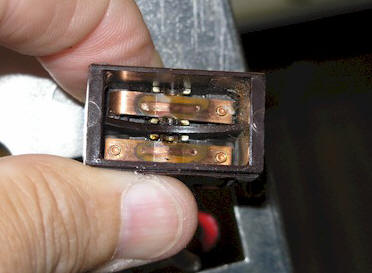
After the switch frame is separated from the body, you will have the two switches, plus two “plunger type” contacts floating on springs. Here is the underside of the switch frame with the two plungers removed, showing a lot of dirt and grime as well as the springs. If these springs or plungers are problematic or any defect from arcing is noted, you will need to improvise. Hopefully your frame is in good shape, and the plungers and springs are still good. If so we can continue on. |
|
  |
||
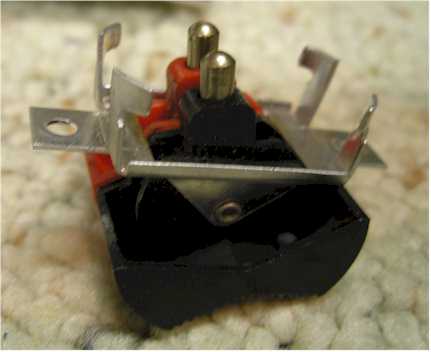
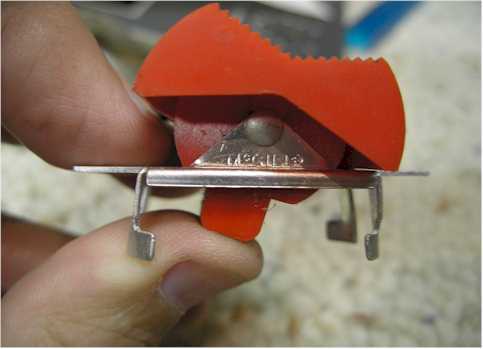
| Here is a side shot of the switch frame. I’m holding the springs in with my thumb. The manufacturer stamp is still shown: ‘McGill’. At this point you should clean up the frame and parts and set it to the side while the real work begins. | ||
 |
|
|