|
Drake Home Page WB4HFN Home Page
L-4B Switch Refurbishing Project Written By: David Drake / W9CMD
Page One >>> Page Two <<< Page Three |
|
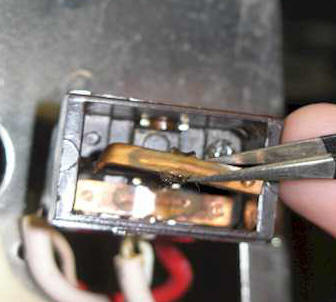 |
At this point, I was not sure what to expect, so I went in with some sturdy tweezers to remove the rocker contacts. As it turned out, it didn't take much effort to break them free from their “stuck” positions. What I found were some badly pitted contacts as seen in the pictures that follow. |
 |
Here’s the underside of the On-Off switch. It was the worst of the two. |
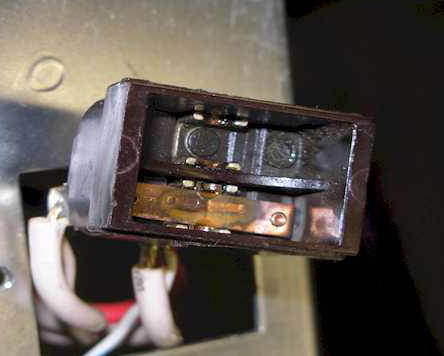 |
Underneath, you can see the mating contact for the On-Off rocker. Equally pitted. Now,….. Just how do I get at these buggers? And I don’t want to remove too much of the contact, …. Just enough to get past the pits and smooth it up. |
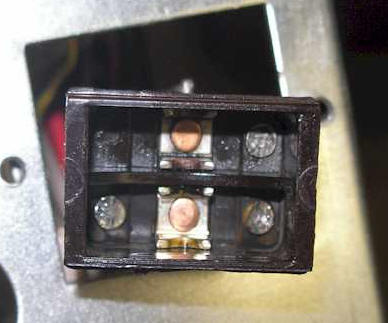 |
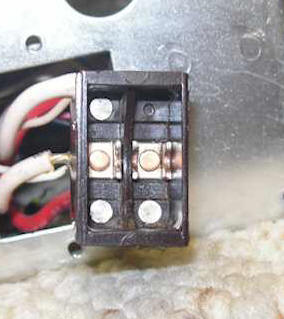
Here’s a picture of the mating contacts after cleaning up the inside of the body. Also notice the center rocker contacts were cleaned up as well.
Overall pretty sad shape. It is no wonder the switches froze !
|
 |
To get the pits filed down to a manageable degree, I used a small curved file from my Luthier tool box. After I got the larger of the pits filed off, I went with a smaller file and then honed the contact with a Dremel tool, a dental bit and some polishing compound. (I’m lucky my wife is a dental hygienist !!)
|
 |
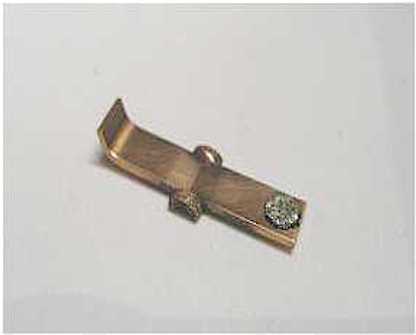
The results are shown at left. The rocker contacts sit in the frame at each side in the center. This are should also be cleaned well for good contact.
The next steps are to put the switch back together just the way it came apart. First the rocker contacts, then you’ll need to re-tension the 4 snap arms so they hold the switch frame securely to the body. Re-insert the switch in the cabinet and secure with the two screws.
|
![]()
Next Page Previous Page Drake Home Page