|
So I was not surprised to see this. I also compared the receiver
using a very strong signal from a generator and the calibrator, both
showed that the original and new filters were about the same in
selectivity. The transmit section showed a slight more ripple up to 4 DB
or so across the 300 to 2500 HZ range, than the original filters, but the
audio response does sound good on transmit and receive.
Now for getting to work on replacing the filters:
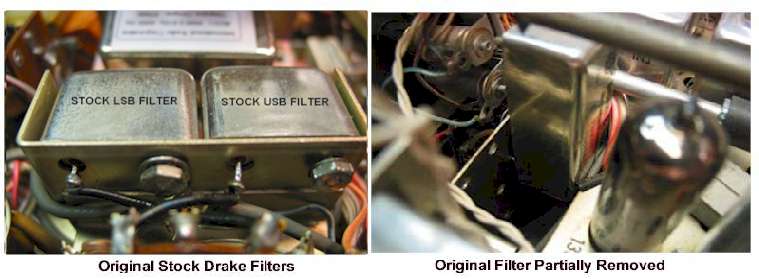
Taking out the filters,
-
First
you will need to use long needle-nose pliers to get the nuts off of the
filters on both sides of the chassis.
-
A
couple of small straight-slot screwdrivers.
-
A
soldering iron.
-
Some
patience in doing this!
-
Start with the front panel facing you, bottom up!
-
I
had to pull the CW/AM filter plate off of the bottom of the two SSB
filters. Then I tied the filter plate out of the way for now.
-
The four nuts were taken off from the top and bottom
of the filters. This is where you have to use a small screwdrivers and
needle nose, to get the nuts off of the filters.
-
Unsolder the four wires going to the filters on
both sides of the chassis.
-
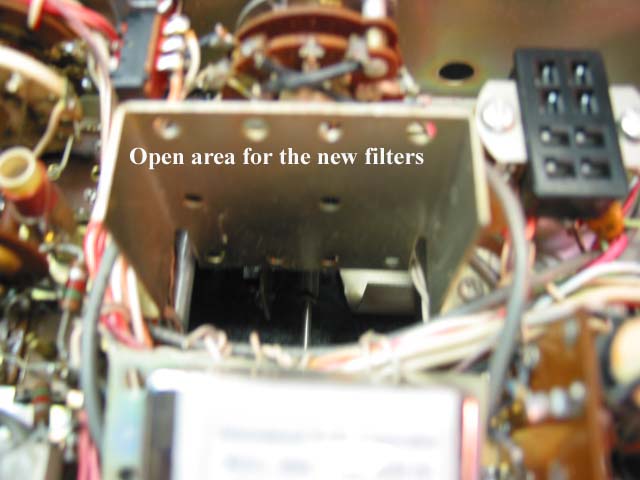
Gently pry the filter off of the mounting plate with
a larger screw-driver and gently pull the “lower” SSB filter out first
(right filter bottom up), through the “top” of the radio.
- Now the “upper”
SSB filter (left filter bottom up) comes out the same way.
|